HashiCorp Vault Secrets Management: How To Set It Up

HashiCorp Vault Secrets Management: How To Set It Up
Every healthcare application handles sensitive credentials, API keys for EHR connections, OAuth tokens, database passwords, and encryption certificates. Without a structured approach to HashiCorp Vault secrets management, these credentials often end up scattered across configuration files, environment variables, or worse, hardcoded into source repositories. The risks compound quickly: a single exposed secret can lead to data breaches, compliance violations, and broken trust with patients and partners.
For teams building integrations with Epic, Cerner, or other EHR systems, the stakes are even higher. HIPAA requires strict controls over how credentials and access tokens are stored, rotated, and audited. Manual secrets management doesn't scale, and it certainly doesn't meet the compliance bar that healthcare demands. You need automation, encryption, and a clear audit trail, all things HashiCorp Vault delivers when configured correctly.
This guide walks you through setting up HashiCorp Vault for secrets management from scratch. You'll learn how to install Vault, configure storage backends, create policies, and automate secret rotation. At SoFaaS, we build healthcare integration infrastructure that handles secure token management and compliance requirements out of the box, but understanding how tools like Vault work under the hood helps you make better architectural decisions, whether you're building custom integrations or evaluating managed platforms.
What Vault is and what you need first
HashiCorp Vault is an identity-based secrets management system that encrypts credentials at rest and in transit. Instead of storing API keys in environment variables or configuration files, you store them in Vault, where they get encrypted using 256-bit AES in GCM mode with a randomly generated key. When your application needs a secret, it authenticates to Vault, retrieves the credential, and Vault logs every access attempt for compliance auditing.
The core architecture revolves around dynamic secrets and tight access control. Vault generates short-lived credentials for databases, cloud platforms, and APIs on demand. You define policies that specify which applications or users can access specific secrets, and Vault enforces those rules through token-based authentication. Every secret has a lease duration, and Vault automatically revokes credentials when the lease expires or when you explicitly revoke access.
HashiCorp Vault eliminates static credentials by generating dynamic, short-lived secrets and tracking every access attempt through immutable audit logs.
Core capabilities you'll use
Vault handles secret storage, dynamic secret generation, encryption as a service, and identity-based access control. The secrets engine stores static key-value pairs like API keys and certificates, while dynamic secret engines create temporary credentials for PostgreSQL, MySQL, AWS, Azure, and other platforms. When your application connects to a database, Vault generates a database user with specific privileges that exists only for the duration of the lease, typically between 1 hour and 24 hours.
The encryption-as-a-service feature lets you encrypt sensitive data without building your own cryptographic infrastructure. Your application sends plaintext to Vault's transit engine, receives ciphertext, and stores that encrypted value in your database. Vault manages the encryption keys, handles key rotation without requiring data re-encryption, and provides a centralized audit trail of every encryption and decryption request.
You'll also use authentication methods to integrate Vault with your existing identity systems. Vault supports Kubernetes service accounts, AWS IAM roles, Azure managed identities, LDAP, and OAuth. Healthcare applications typically use Kubernetes authentication for container workloads and AppRole for traditional VMs or serverless functions.
Prerequisites for production deployment
You need three Linux servers or virtual machines to run a highly available Vault cluster. Each server requires at least 2 CPU cores and 8GB RAM for production workloads. Vault runs on Ubuntu, Red Hat Enterprise Linux, or Amazon Linux, and you'll install it as a systemd service that starts automatically on boot.
Storage backend infrastructure is non-negotiable for production hashicorp vault secrets management. You'll configure either HashiCorp Consul for distributed storage, which requires its own three-node cluster, or use integrated storage (Raft), which bundles the consensus protocol directly into Vault. Cloud deployments can also use managed services like AWS S3, Azure Storage, or Google Cloud Storage, though these options don't provide high availability clustering.
Your environment needs TLS certificates from a trusted certificate authority for encrypting communication between Vault servers and clients. Self-signed certificates work for testing, but production systems require certificates from Let's Encrypt, AWS Certificate Manager, or your organization's internal PKI. You'll configure TLS for both the API listener and cluster communication between Vault nodes.
Access to your DNS infrastructure and load balancer completes the prerequisites. You'll create DNS records pointing to your Vault cluster and configure a load balancer to distribute traffic across all three nodes. The load balancer performs health checks against Vault's /v1/sys/health endpoint and removes failed nodes from rotation automatically.
Step 1. Design a production-ready Vault setup
Production hashicorp vault secrets management requires architectural decisions before you touch any configuration files. You need to choose between a single-node setup for development environments and a multi-node cluster for high availability. Single-node deployments work fine for testing, but any production system handling healthcare credentials needs at least three Vault servers running in a cluster. This configuration survives single server failures without interrupting your application's ability to retrieve secrets.
Choose your deployment architecture
Your cluster architecture depends on expected request volume and availability requirements. A three-node cluster handles up to 10,000 requests per second with proper hardware, which covers most healthcare integration scenarios. You'll configure one node as the active leader while the other two operate as hot standbys that take over automatically if the leader fails. Vault uses the Raft consensus protocol to elect a new leader within 10 seconds when a failure occurs.
Geographic distribution adds another layer of resilience. Deploy each Vault node in separate availability zones within the same cloud region to protect against datacenter outages. Cross-region deployments introduce latency that breaks Vault's consensus mechanism, so keep all nodes within 5 milliseconds of network latency from each other.
Select your storage backend
Integrated storage (Raft) provides the simplest production-ready option because it eliminates external dependencies. Vault writes encrypted data directly to disk on each cluster member and replicates that data across all nodes. This approach gives you automatic backups through snapshots and reduces operational complexity compared to managing a separate Consul cluster.
Cloud storage backends like AWS S3 or Azure Blob Storage work for specific scenarios where you already have those services configured with proper encryption and access controls. These options sacrifice some performance since Vault can't leverage memory caching as effectively, and you lose automatic failover capabilities that integrated storage provides.
Integrated storage with Raft consensus delivers the best balance of simplicity and reliability for production Vault deployments.
Plan network topology and endpoints
You need two separate network paths: one for client applications accessing the API listener and another for cluster communication between Vault nodes. Configure your load balancer to terminate TLS and forward requests to port 8200 on each Vault server. The cluster address runs on port 8201 and must remain inaccessible from external networks.
Your firewall rules should allow inbound traffic only from application subnets to the load balancer and restrict cluster ports to communication between Vault nodes. Healthcare compliance requires this network segmentation to limit blast radius if a single component gets compromised.
Step 2. Install Vault and configure storage and TLS
The installation process puts Vault binaries on your servers and creates configuration files that define storage, network listeners, and encryption settings. You'll work directly on each of the three servers in your cluster, repeating these steps to ensure identical configuration across all nodes. The entire process takes about 30 minutes per server when you have your TLS certificates and storage decisions ready.
Download and install the Vault binary
Navigate to the HashiCorp releases page and download the Linux AMD64 package for the latest stable version. Extract the binary to /usr/local/bin/vault and set executable permissions with chmod +x /usr/local/bin/vault. You verify the installation works by running vault version, which displays the build number and confirms the binary executes correctly.
Create a dedicated system user named vault with no shell access using useradd -r -d /var/lib/vault -s /bin/false vault. This user owns all Vault processes and data directories, following the principle of least privilege that healthcare compliance audits expect to see.
Configure integrated storage and listeners
Create your main configuration file at /etc/vault.d/vault.hcl with the storage backend and API listener settings. Your configuration needs three critical blocks: storage, listener, and cluster addresses.

storage "raft" {
  path = "/var/lib/vault/data"
  node_id = "vault-node-1"
}

listener "tcp" {
  address = "0.0.0.0:8200"
  tls_cert_file = "/etc/vault.d/tls/vault.crt"
  tls_key_file = "/etc/vault.d/tls/vault.key"
}

cluster_addr = "https://10.0.1.10:8201"
api_addr = "https://vault.example.com:8200"
ui = true
Change the node_id value to unique identifiers for each server: vault-node-1, vault-node-2, and vault-node-3. Update cluster_addr with each server's private IP address and keep api_addr pointing to your load balancer DNS name.
Integrated storage configuration eliminates external dependencies while maintaining high availability through built-in Raft consensus replication.
Install TLS certificates and secure permissions
Copy your TLS certificate and private key to /etc/vault.d/tls/ on each server. Set file permissions to 0400 for the private key using chmod 0400 /etc/vault.d/tls/vault.key and restrict ownership to the vault user with chown vault:vault /etc/vault.d/tls/*. These restrictive permissions prevent unauthorized access to encryption keys that protect all hashicorp vault secrets management operations.
Step 3. Initialize, unseal, and turn on auditing
Starting your Vault cluster requires one-time initialization that generates master keys and establishes the foundation for all hashicorp vault secrets management operations. This process creates the encryption keys that protect your secrets and sets up the unseal mechanism that controls access to those keys. You perform initialization once across your entire cluster, not on each individual server, and the keys you receive during this step represent the only way to recover from catastrophic failures.
Initialize Vault and generate recovery keys
Connect to any one of your three Vault servers and run the initialization command that creates five key shares and requires three shares to unseal Vault. Execute vault operator init and Vault responds with five unseal keys plus a root token.
vault operator init -key-shares=5 -key-threshold=3
The output displays five unique unseal keys and one root token that you must store in separate secure locations. Copy each key to a password manager, hardware security module, or encrypted storage system that different team members control. Never store all five keys in the same location because anyone who obtains three keys can fully decrypt your Vault instance and access every secret.
The unseal keys generated during initialization represent the only recovery mechanism for your Vault cluster, making secure storage of these keys a critical compliance requirement.
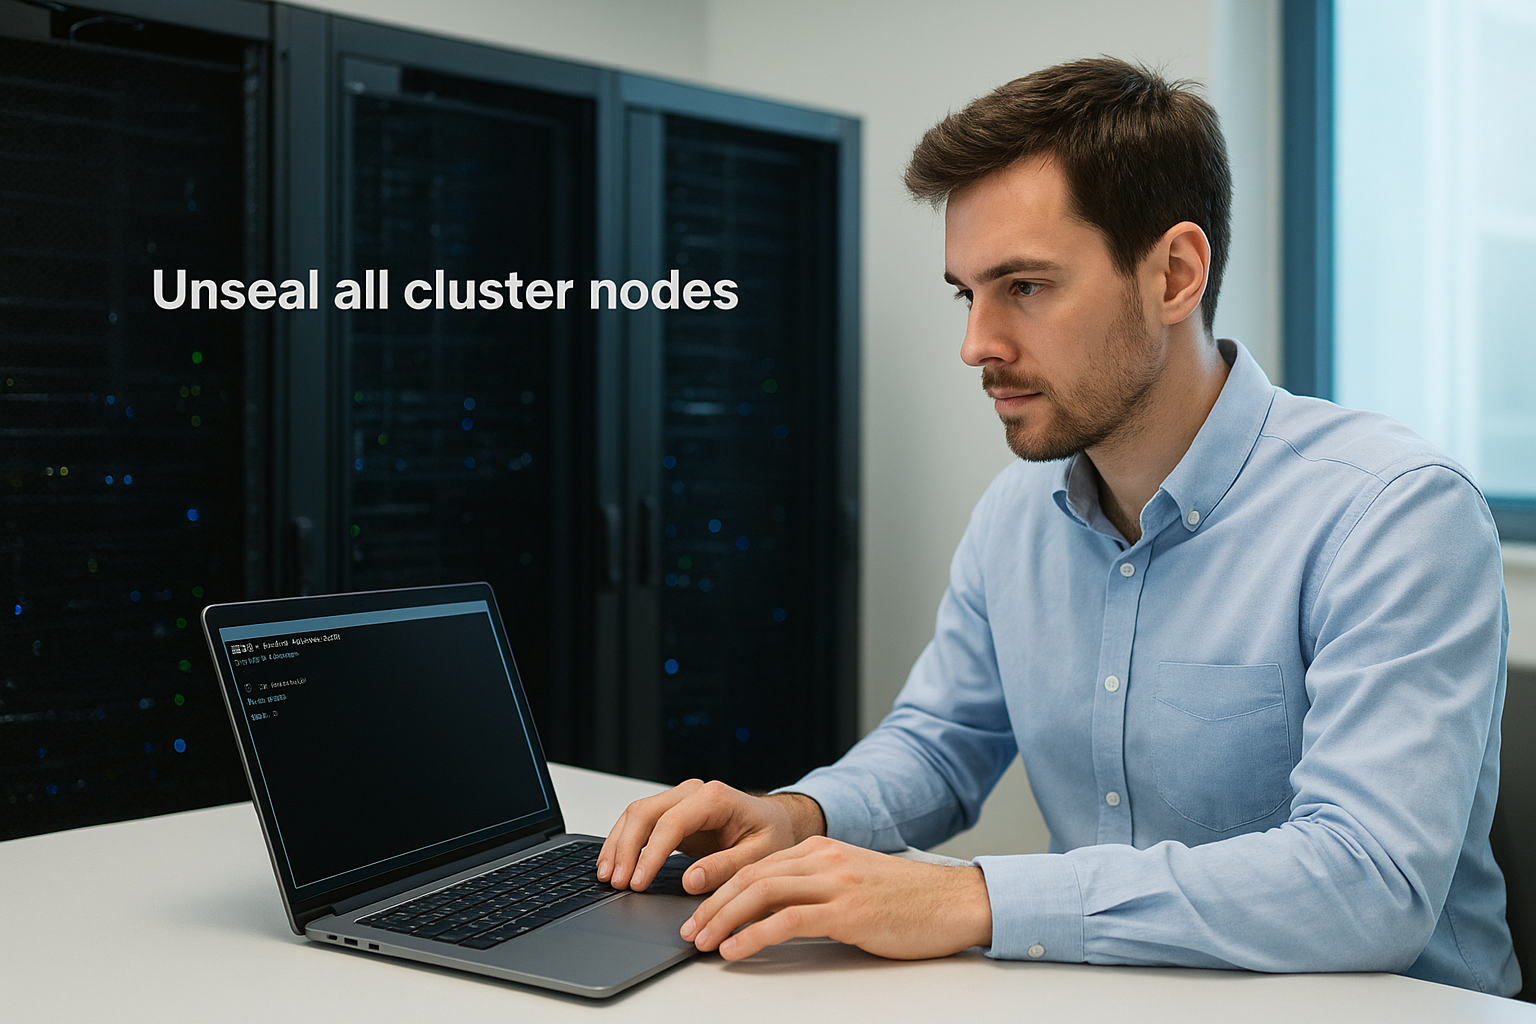
Unseal all cluster nodes
Vault starts in a sealed state where it cannot decrypt any data or process requests. You need to provide three of your five unseal keys on each server to make that node operational. Run vault operator unseal three times on the first server, entering a different key each time.
vault operator unseal
# Paste first key
vault operator unseal
# Paste second key
vault operator unseal
# Paste third key
Repeat this unsealing process on the remaining two servers in your cluster. Each node requires three keys independently because the servers encrypt their storage separately. Check cluster status with vault status to verify the seal status shows false.
Enable comprehensive audit logging
Audit logs record every authentication attempt, secret access, and policy change for compliance reporting and security investigations. Create a dedicated directory at /var/log/vault/ owned by the vault user, then enable the file audit device that writes JSON-formatted logs.
vault audit enable file file_path=/var/log/vault/audit.log
Verify logging works by running vault audit list to confirm the file device appears as enabled. Every subsequent API request generates an audit entry with timestamps, client IP addresses, and requested paths that regulatory audits require for healthcare systems.
Step 4. Store secrets and automate access and rotation
Your initialized Vault cluster can now store credentials and generate dynamic secrets for applications connecting to EHR systems and databases. This step transforms Vault from an empty vault into a functional secrets management system that replaces hardcoded credentials across your infrastructure. You'll create secret engines, define access policies, and configure automatic rotation for database credentials.
Store your first secrets using key-value engine
Enable the key-value version 2 secrets engine at the path where you'll organize credentials by environment and application. Run vault secrets enable -path=secret kv-v2 to create the storage location, then write your first secret containing an API key for Epic integration.
vault kv put secret/production/epic api_key=abc123xyz client_id=your-client-id
Retrieve this secret with vault kv get secret/production/epic to verify storage worked correctly. The command displays both the current value and version metadata that tracks when you created or modified the secret.
Create access policies for applications
Policies control which secrets your applications can access based on path-based permissions that match your secret organization structure. Create a policy file named epic-app-policy.hcl that grants read access to Epic credentials.
path "secret/data/production/epic" {
  capabilities = ["read"]
}
Apply this policy with vault policy write epic-app epic-app-policy.hcl and create an authentication token bound to that policy using vault token create -policy=epic-app. Applications authenticate with this token to retrieve only the secrets their policy permits, following the principle of least privilege that hashicorp vault secrets management enforces.
Path-based policies ensure applications retrieve only the credentials they need, minimizing damage from compromised tokens or breached services.
Automate credential rotation
Configure Vault to generate temporary database credentials that expire automatically instead of managing static passwords. Enable the database secrets engine and connect it to your PostgreSQL instance.
vault secrets enable database
vault write database/config/mydb \
  plugin_name=postgresql-database-plugin \
  connection_url="postgresql://{{username}}:{{password}}@10.0.2.5:5432/app" \
  allowed_roles="readonly" \
  username="vault-admin" \
  password="admin-password"
Create a role that generates read-only credentials with 1-hour leases. Applications request credentials through vault read database/creds/readonly and Vault automatically revokes access when the lease expires.

Next steps
You now have a production-ready Vault cluster handling hashicorp vault secrets management for your healthcare applications. Start migrating your hardcoded credentials into Vault by identifying every static API key, database password, and OAuth token scattered across configuration files and environment variables. Create separate secret paths for each environment (development, staging, production) and apply policies that restrict access to only the applications that need specific credentials.
Configure automatic rotation for database credentials first because those represent the highest risk if compromised. Set lease durations based on your security requirements, typically between 1 and 24 hours for database access and longer for less sensitive credentials. Monitor your audit logs daily during the first month to catch authentication failures and policy violations before they escalate into security incidents.
If you're building healthcare integrations that need secure token management and HIPAA compliance without the infrastructure overhead, launch your SMART on FHIR app with VectorCare in a couple of steps instead of managing Vault clusters yourself.
The Future of Patient Logistics
Exploring the future of all things related to patient logistics, technology and how AI is going to re-shape the way we deliver care.
Thank you! Your submission has been received!
Oops! Something went wrong while submitting the form.